Ultrasound Image Optimization
Ultrasound Physics Principles Affecting Image Quality
Ultrasound imaging employs high-frequency sound waves that reflect off the interfaces of tissues to create images. The amount of reflection depends on the differences in acoustic impedance between various tissues. Some of the sound may be absorbed or transmitted deeper into the body. Greater mismatches in impedance produce stronger echoes, resulting in brighter areas on the image, but these mismatches can also block sound from reaching deeper structures.
As the sound waves travel, they lose energy through processes such as absorption, scattering, and reflection, a phenomenon known as attenuation. This attenuation increases with higher frequencies, which limits the depth of penetration.
Consequently, image quality is a balance between resolution and penetration depth: higher frequencies provide better detail but penetrate less deeply, while lower frequencies can penetrate deeper but sacrifice image resolution.

Spatial Resolution (Axial vs. Lateral)
Axial resolution is the ability to distinguish two separate structures along the path of the beam (one in front of the other). It is primarily determined by the pulse length (and thus frequency); higher frequencies (shorter wavelengths) produce finer axial resolution.
Lateral resolution is the ability to distinguish two side-by-side structures. Lateral resolution depends on beam width, which is narrowest at the focal zone. Lateral resolution is best at the focus, so positioning the focal zone at the depth of interest is critical for optimal clarity.

Temporal Resolution (refers to the ultrasound’s frame rate)
A high frame rate is essential for accurately visualizing moving structures, such as heart valves, without experiencing motion blur. However, a trade-off is involved: achieving the highest frame rate often means sacrificing image detail by using fewer scan lines or limiting the depth. Conversely, the frame rate tends to decrease if more detail is prioritized.
Limit the depth and number of focal zones to keep the frame rate high and optimize temporal resolution when motion is a concern.

Frame rate
Acoustic Impedance and Echogenicity
Acoustic impedance is the product of tissue density and sound speed. When ultrasound waves hit a boundary between tissues with different impedances, some energy is reflected back to the probe while the rest is transmitted through.
Tissues that are very dense or stiff (high impedance) reflect a large portion of the sound, appearing hyperechoic (bright) on the screen but casting acoustic shadows behind them (since little sound penetrates beyond).
In contrast, tissues with lower impedance differences (or fluid-filled regions) reflect little sound and allow more transmission, appearing hypoechoic or anechoic (dark) and often causing posterior enhancement (brightening) of deeper structures.
For example, air, bone, or calcification reflects almost all sound (a bright surface with a shadow behind), while fluid (like a cyst) returns minimal echo but makes tissues deep to it appear brighter by comparison.


Material | Impedance Z (K rayl) | Velocity V (m/s) | Density ρ (g/cubic centimeters) |
|---|---|---|---|
Air | 0.04 | 330 | 0.0013 (at STP) |
Blood | 161 | 1570 | 1.04 |
Soft tissue (average) | 163 | 1540 | 1.01-1.06 |
Muscle | 170 | 1580 | 1.05 |
Bone | 780 | 4080 | 1.5-2.0 |
Fat | 138 | 1450 | 0.94 |
Physics of the Human Body Irving P. Herman Chapter 7 Springer 2008.
Attenuation
As ultrasound travels through tissue, its energy diminishes with depth – this is known as attenuation. High-frequency sound attenuates more rapidly than low-frequency sound, which is why high frequencies can’t image deep structures well.
Attenuation is caused by a combination of absorption (conversion of sound energy to heat), scattering from small reflectors, and reflection/refraction out of the beam path.
To compensate for attenuation, ultrasound machines amplify signals from deeper tissues (see TGC below). When scanning, select a frequency that is appropriate for the required depth—lower MHz is preferred for obese patients or deep organs to minimize attenuation effects.

Key Machine Controls (“Knobology”) for Image Optimization
Gain:
Gain is the overall amplification of the echoes returning to the probe, essentially controlling the brightness of the entire image.
Increasing gain makes the image uniformly brighter, while decreasing gain makes it darker. The goal is to set gain so tissues have a realistic gray scale: fluid-filled structures (like blood vessels) should appear black (anechoic) and soft tissues gray, without the image being washed.
Too much gain causes loss of contrast and can even create artifactual echoes (e.g., excessive near-field brightness or reverberation noise).
Too little gain may obscure structures in darkness.
Optimization tip: Adjust the gain until the background and fluid spaces are black and the mid-level echoes are comfortably visible. If everything is too bright or too dark, readjust the gain accordingly.
Time-Gain Compensation (TGC):
TGC allows selective adjustment of gain at different depths (typically via sliding knobs). This compensates for deeper echoes being weaker (due to attenuation).
In general, you will increase the TGC for deeper zones so that the bottom of the image is not too dim.
For example, if the cardiac’s deeper portion looks darker than the superficial portion, you can boost the lower TGC sliders until the brightness is uniform.
Optimization tip: Create a gentle slope of TGC, increasing with depth, to achieve even tissue brightness from near field to far field. Avoid over-amplifying very deep signals, which can accentuate noise or enhancement artifacts. If a bright artifact is present deep to a fluid (posterior enhancement), you might reduce TGC in that region to avoid obscuring pathology.


Depth:
Adjust the imaging depth so that the area of interest fills the middle of the display without unnecessary deeper areas.
Too shallow a depth might cut off important anatomy, while too deep a setting makes the target occupy only a small part of the image (wasting resolution and frame rate). Axial resolution is optimal when the target is neither too close to the probe nor too close to the bottom of the image – centering it helps ensure the ultrasound is using an appropriate pulse length and “listening” time for that depth.
Optimization tip: Set depth such that you have a little margin below the structure of interest (to see its far side and any artifacts), but not much more. Continuously adjust depth as you move to different structures during the exam so each area is viewed in the center of the image.
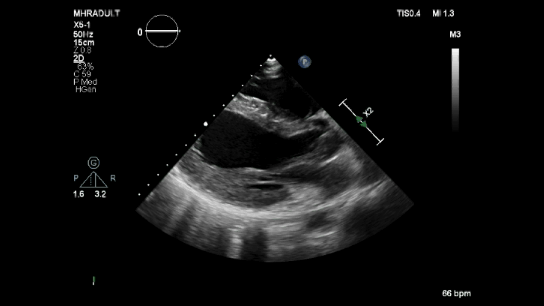
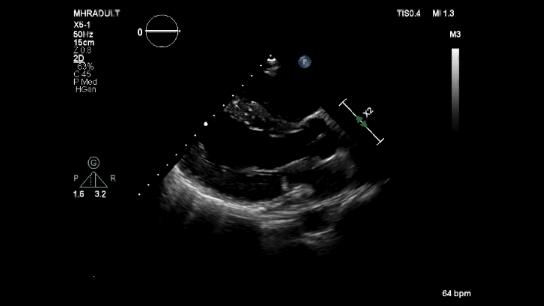
Frame rate 50 Hz
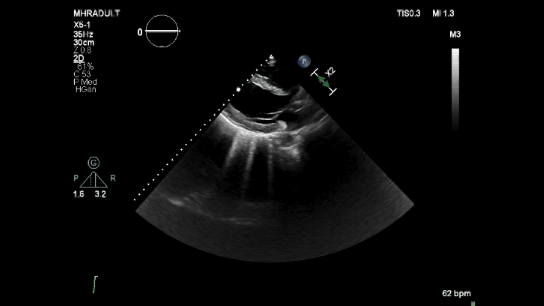
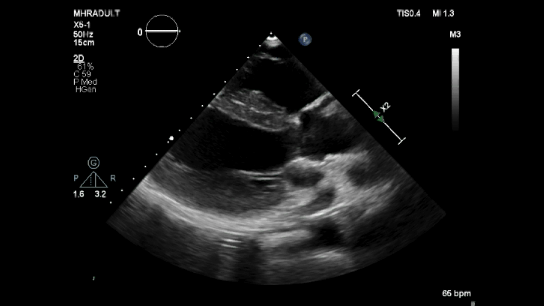
Frame rate 35 Hz
Focus:
The focal zone is the region where the ultrasound beam is narrowest and lateral resolution is highest. Most machines indicate the focus with an arrow or marker on the side of the image. To sharpen lateral resolution in that area, you should position the focal zone at the depth of the structure of interest (or at the deepest part of the region of interest).
Avoid placing the focus much deeper than the target, as areas above the focus will have suboptimal lateral resolution.

Frequency Selection:
Most modern transducers are broadband, allowing you to select higher or lower frequencies within their range. Many machines label frequency settings as “Penetration (Pen),” “General,” or “Resolution (Res)” modes, corresponding to low, medium, and high frequency ranges.
For example, if imaging a superficial structure like a thyroid or vascular line placement, switch to a high frequency (10–15 MHz) setting for better detail. If imaging a deep structure in an obese patient, choose a lower frequency (e.g., 2–5 MHz) or the “Pen” setting to boost penetration.

Dynamic Range (Compression):
Dynamic range defines how many shades of gray the ultrasound can display, from black to white.
A wide dynamic range (high compression) means more gray shades are used, producing a smoother, softer image with subtle differences visible, similar to lowering contrast.
A narrow dynamic range (low compression) uses fewer shades, yielding a higher-contrast image where tissues are more starkly black or white.
Avoid losing useful grayscale information; extreme compression can wash out mid-level echoes. Often, a moderate setting is best, and many machines default to an appropriate middle value.

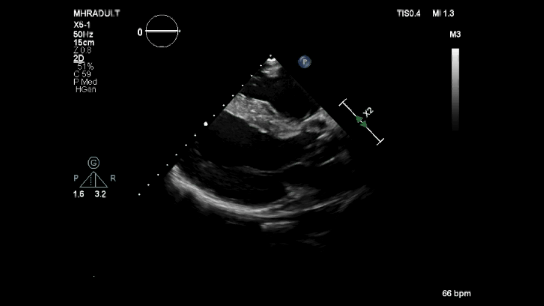
High compression 60
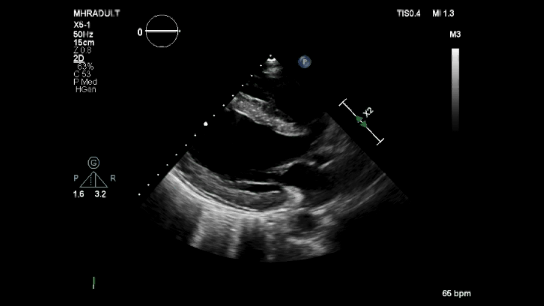
Low compression 45
Tissue Harmonics:
Harmonic imaging is a technology that improves image clarity by using the fact that sound travels through tissue and generates higher-frequency harmonics. In practice, the machine sends out a lower-frequency wave but “listens” for echoes at twice the frequency (the harmonic).
The harmonic signal is produced within the tissue (not at the skin surface), so it tends to have less distortion from the near-field and can reduce artifacts like reverberation.
Optimization tip: Most modern machines have tissue harmonics (often labeled “THI” or “Harmonic”)—try toggling them on difficult scans. This is especially useful in larger patients or when there is a lot of noise in the image.
Harmonic On
Harmonic Off